
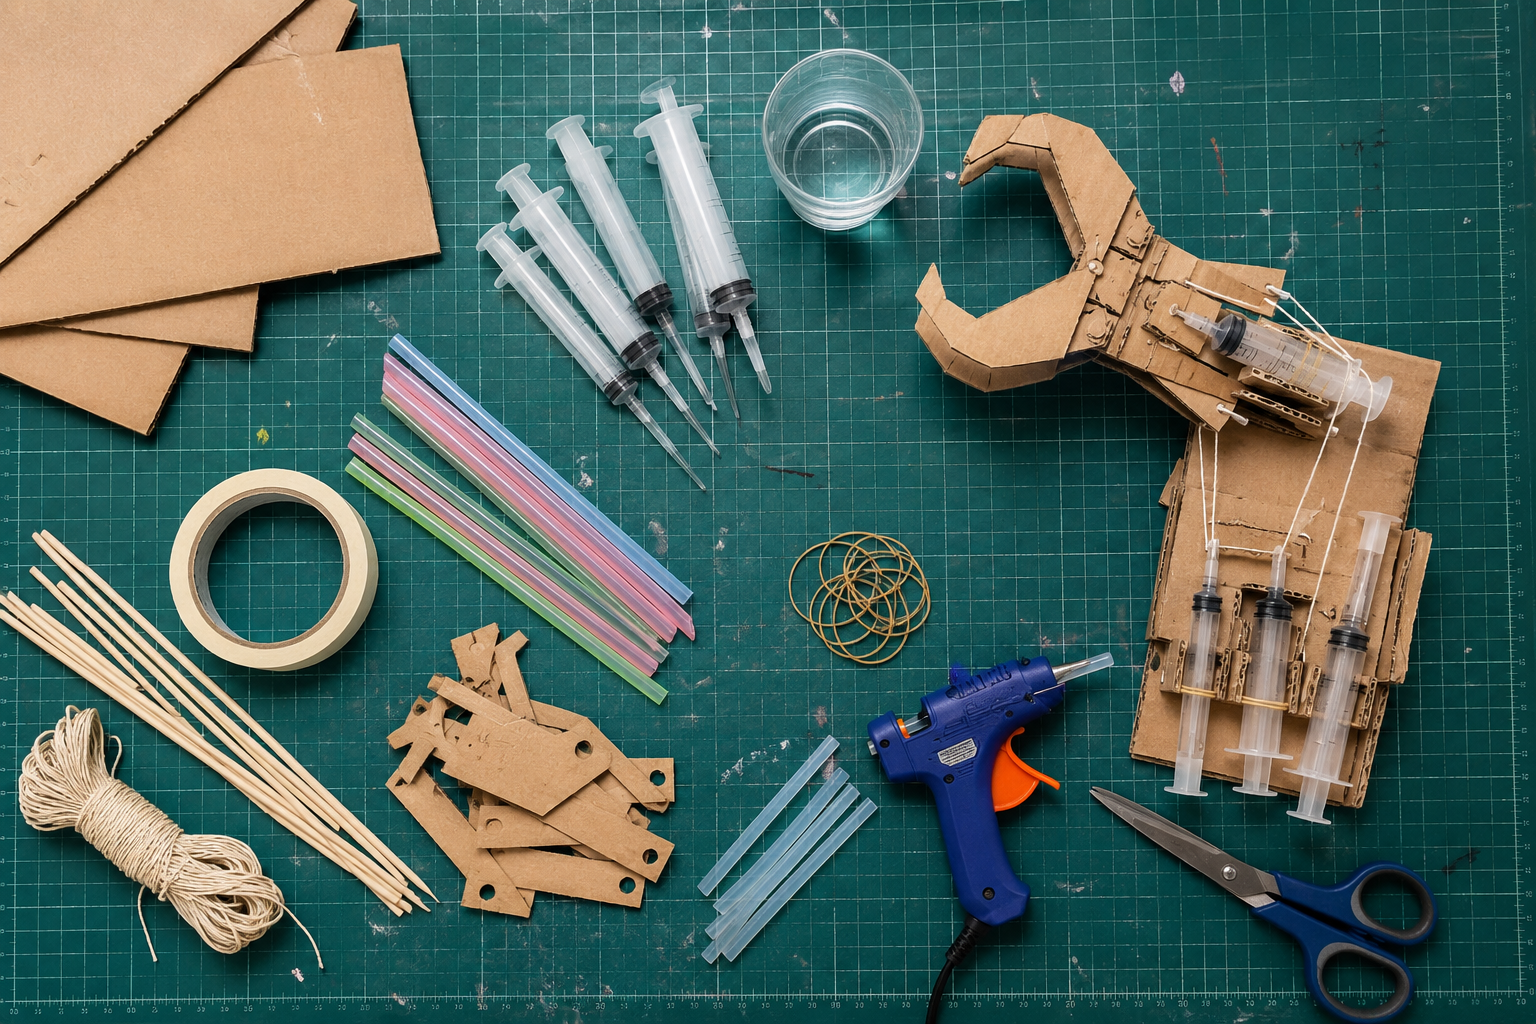
What we’re building
We’re building a cardboard robot claw that can pinch and pick up a lightweight treasure using water power. Yep: water gets to be the tiny muscle!
Concepts
- Hydraulic pressure: a push on water can travel through a tube
- Force: the push or pull that makes the claw move
- Linkages: connected parts that turn a small movement into a bigger one
- Iteration: changing one thing, testing it, and learning from the result
Materials
- Thick cardboard for a hand-sized base and two fingers
- 4 plastic syringes (no needles), flexible tubing, and water
- Craft sticks, 2 paper fasteners, tape, and scissors
- A foam block or empty paper cup for the first grab test
The build
Let’s make the science happen
Take your time with each step, notice the weird little details, and remember: a wonky first try is just a build asking for its next idea
Step 1
Give your claw a job
Put two craft sticks side by side like robot fingers. Pinch a foam block or an empty cup and notice where your fingers bend. Now copy that bend with a tiny sketch: base at the bottom, two fingers at the top, and a dot where each finger will swivel. Your claw needs one clear job, pick up a light object, not just a dramatic cardboard costume
Try the finger motion first Step 2
Cut the body and two fingers
Cut one cardboard base about as long as your hand. Cut two matching finger shapes, each with a rounded grabbing tip and a wide tab at the bottom. The tabs are important: they are the shoulders where the fingers will attach. Tape a craft stick along the back of each finger if the cardboard bends like soggy cereal
Build the cardboard skeleton Step 3
Make the pivot joints
Lay each finger tab on the base and poke one paper fastener through the tab and base. Open the fastener legs on the back, but do not smash them flat. The finger should swing open and closed without wobbling like a loose tooth. Test both fingers by hand ten times before adding any water parts
Let the fingers swing Step 4
Fill the water muscles
Ask an adult to help you fill each syringe and tube with water. Push the plunger slowly until the tube is full and most air bubbles are gone. Connect one control syringe to one claw syringe with tubing. Tape the claw syringe so its plunger can push or pull the finger, while the control syringe stays where your hand can reach it
Make a hydraulic system Step 5
Run the first grab test
Put the foam block between the open fingers. Push one control plunger slowly and watch the matching finger move. Then try the second one. Use the same gentle push each time; smashing the plunger makes it hard to see what is happening. Count how many tries it takes to lift the object for three seconds
Watch the force travel Step 6
Upgrade like an engineer
Pick one problem from your test: slipping tips, uneven fingers, or weak movement. Change only one thing, add a folded cardboard grip, move one pivot hole, shorten a finger, or refill one tube. Then run the same three-second grab test again and compare your results. That comparison is the whole magic trick of engineering
Change one thing
Conclusion
What did your build teach you?
You just made a hydraulic machine: your hand pushed water, the water carried that push, and the claw moved. The coolest part is that a tiny joint change can totally change the grab, so keep tinkering, glorious robot scientist
When it gets weird
If the claw barely moves, hunt for an air bubble, a loose tube, or tape that is blocking a plunger. If it moves but cannot grab, give the tips more grip or move a pivot hole slightly closer to the base