
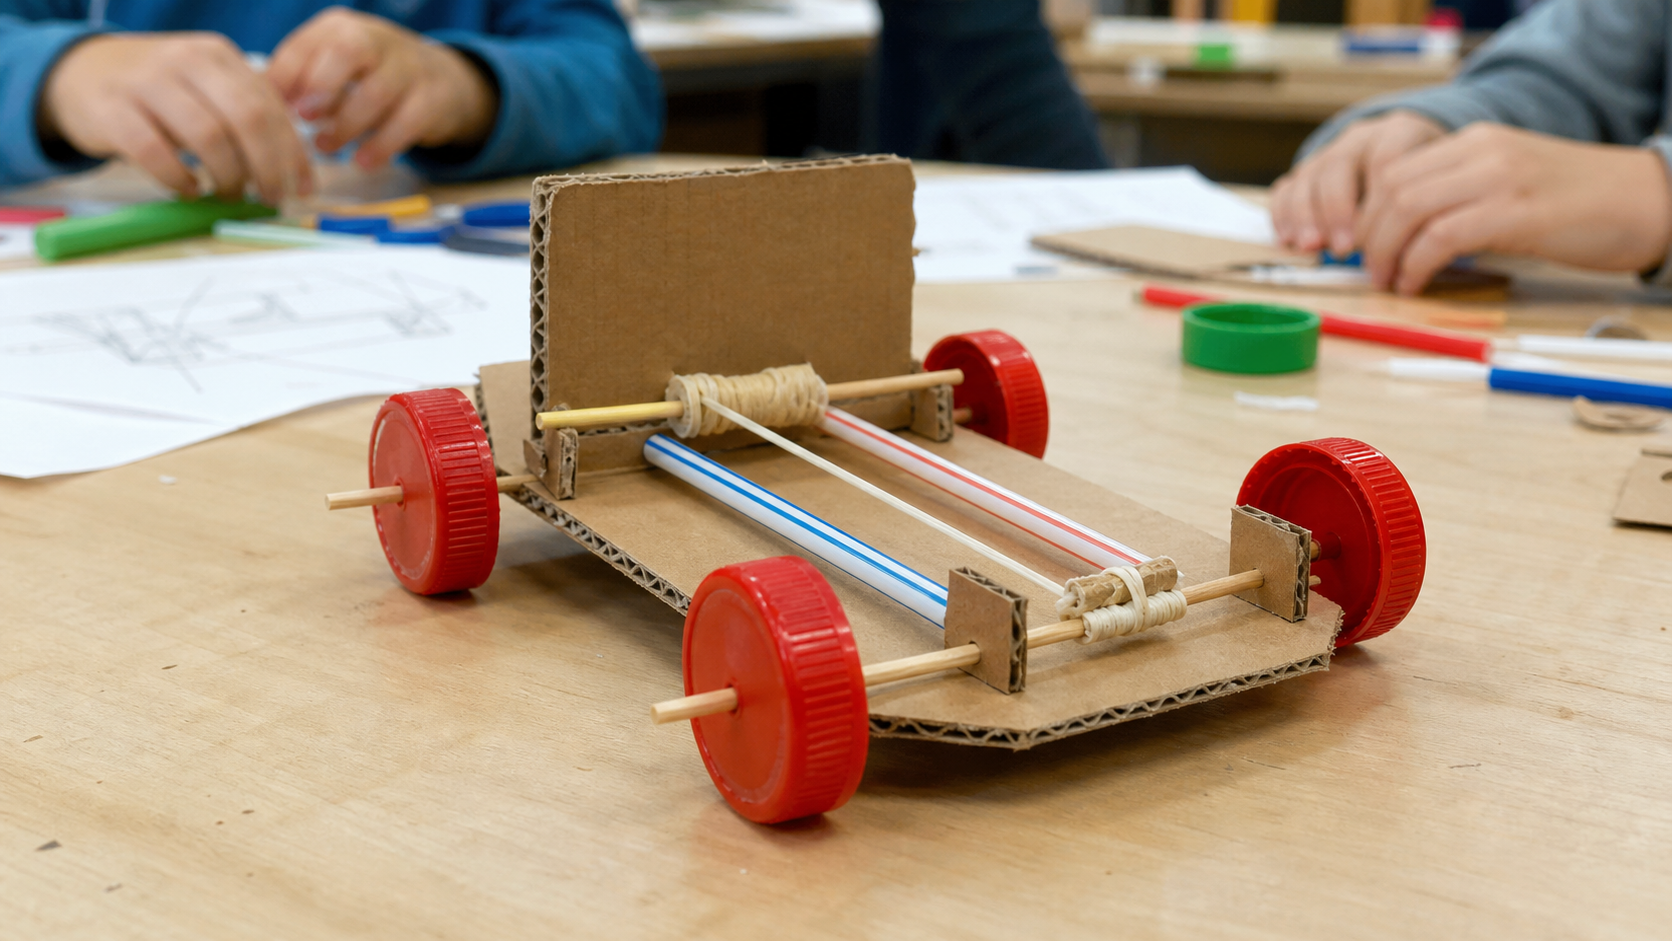
What we’re building
We’re building a little cardboard race car powered by a twisted rubber band. No batteries, no pushing, just stored energy ready to zoom
Concepts
- Potential energy: energy stored in the twisted rubber band
- Kinetic energy: energy of motion when the car rolls
- Friction: rubbing that can slow a wheel or help it grip
- Alignment: keeping axles parallel so the car travels straight
Materials
- Cardboard, scissors, tape, and a ruler
- 2 drinking straws and 2 wooden skewers
- 4 matching bottle caps and a rubber band
- A smooth floor, measuring tape, and a starting-line marker
The build
Let’s make the science happen
Take your time with each step, notice the weird little details, and remember: a wonky first try is just a build asking for its next idea
Step 1
Choose your race goal
Before cutting cardboard, choose one mission: go the farthest, go the fastest, or go the straightest. These are different challenges, so your car gets a job description before it gets wheels. Draw a quick rectangle car and put a star by the part you think will matter most
Pick a mission Step 2
Cut a light, stiff body
Cut a cardboard rectangle about 18 cm long and 8 cm wide. Fold up two skinny edges or tape a craft stick underneath if it bends. Keep the middle clear and light: every extra decoration is extra mass the rubber band has to haul along. Give the front a tiny notch for the rubber band hook
Make the car’s chassis Step 3
Tape on parallel straw tunnels
Flip the body over. Tape one straw close to the front and another close to the back. Use a ruler or place two scrap strips beside them so the straws point exactly the same way. Look from the front: if the straws make a V shape, your car will try to escape sideways
Aim the axles straight Step 4
Spin on four wheels
Push a skewer through each straw. Attach one bottle cap to each end so you have four wheels. Spin every wheel with one finger. If a cap scrapes the cardboard, slide on a tiny straw spacer or move the straw before you start the motor. A wheel that rubs steals energy like a snack thief
Check for wheel rub Step 5
Wind the rubber-band motor
Hook one end of the rubber band into the front notch. Loop the other end around the back axle. Turn the back wheels backward 10 times to twist the band, then hold the car still on the start line. Let go without giving it a sneaky push. The band untwists and spins the axle forward
Store the energy Step 6
Race, measure, redesign
Use the same start line and the same number of twists for three trials. Measure the distance from the line to the front of the stopped car. Make a tiny data table: trial number, distance, and whether it veered left or right. Then change one thing only, wheel spacing, chassis weight, or number of twists, and test again
Run a fair test
Conclusion
What did your build teach you?
You turned a twist into a trip across the floor! The rubber band stored potential energy, the axle changed it into motion, and your measurements told you which changes helped. That is real engineering, with better sound effects
When it gets weird
If the car swirls in circles, inspect the straws from the front and make the axles parallel. If it barely moves, remove weight, check for wheel rubbing, and make sure the rubber band pulls the back axle instead of just dangling there